SMS: Fresh Peach Muffins

Fresh Peach Muffins 2

*Just wanted to apologize that this post is a little late- as some of you know, I’ve been under the weather for the past few weeks, and unfortunately, I really wasn’t feeling well yesterday. I hope you understand!*

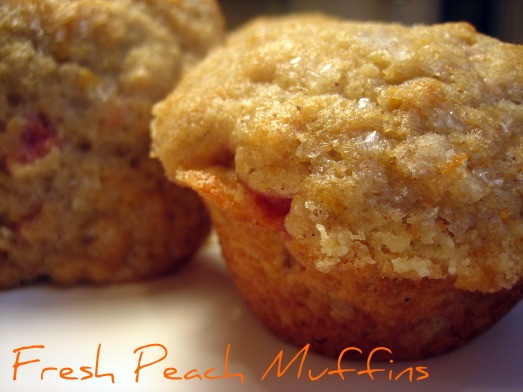
You may have guessed from my SMS selection last week, that I have a fondness for quick breads. My only criticism is that while they may be “quick” to prepare, the long bake time of an hour or more often means waiting (rather impatiently, I must admit) to sit down with a slice of delicious loaf. But the option to make individual serving sizes in the form of muffins can save the day when you’re craving a sweet breakfast treat that can be on the table in less than half the time! Whether you’re a self proclaimed muffin top lover like myself, preferring to indulge in the soft textured, yet slightly crispy and caramelized exterior of the mushroomed muffin dome, or you favor the rougher, tight crumb of the bottom portion, often dubbed the “muffin stump,” most would agree that a muffin is the ideal breakfast pastry. With endless combinations of possible mix-ins and featured ingredients, the modern American muffin has a variation to please every palate, from blueberry to chocolate chip, pumpkin to date nut, lemon poppyseed to banana crumb, and bran to corn- there are plenty of styles to choose from and it can be difficult narrowing down a favorite. As summer comes to a close, I’m tempted to incorporate the bounty of readily-available ripe, juicy fruits in my baked goods as often as possible while they are still in season. Thanks to JoVonn of The Givens Chronicles, this week’s SMS recipe, Fresh Peach Muffins, offered the perfect opportunity to try a muffin flavor I’ve never made before, and highlight the bright luscious stone-fruit one last time before Fall sets in.
Fresh Peach Muffins 4

The word “muffin” was possibly derived from the Old French moufflet, which referred to “soft bread,” or the German muffen, meaning “small cake.” The earliest versions tended to be less sweet and much less varied in ingredients than their contemporary form. Pulled together quickly and easily, muffins were usually served as a breakfast food, but because they also grew stale rapidly, they were not a highly marketable baked good and remained mostly in home kitchens until the mid-20th century. Fannie Merritt Farmer included 15 recipes for muffins in her Boston Cooking-School Cook Book of 1896, however most were limited to a few different grains and some readily available additives like raisins, apples, berries, and nuts. So how did the modestly simple mini cake transform into the elaborate super-sized version we’re accustomed to today?

Fresh Peach Muffins 5

The 1950’s saw the introduction of muffin mixes to the market, but it was a combination of circumstances in the ‘70’s and ‘80’s that resulted in major changes to the breakfast baked good. The decline in home-baking, the health food movement, the rise of the specialty food shop, and the gourmet coffee trend all contributed to the evolution of the modern day muffin. “Healthful” muffin recipes using whole grains, yogurt and various vegetables became prolific, but in order for these muffins to maintain any shelf-life without artificial preservatives, both the sugar and fat content needed to be increased, making these treats more comparable to their cupcake counterparts. (The higher sugar and fat content act as tenderizers, and minimize gluten development, producing a richer cake-like muffin with a softer crumb.) With the emergence of gourmet coffee houses, there was a need for gourmet snacks to serve as accompaniments, and fancier recipes were created which departed from the humble originals. Thanks to the marketing trend toward larger portion sizes, muffins ballooned to the soft-ball size jumbos now abundantly available, and new pans were created for the home cook to replicate the extra large versions lining every coffee shop pastry case.

Fresh Peach Muffins 9

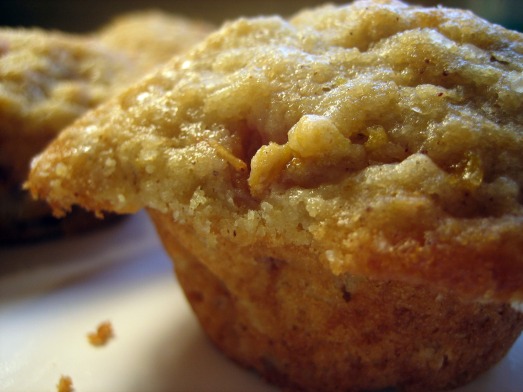
What makes Melissa Murphy’s basic sweet muffin recipe special is its flexibility- it can be dressed up with the addition of different citrus zests, spices, and fruits to suit your taste or accommodate ingredients on hand. In this variation, peaches play a starring role with accents of orange zest and cinnamon. While the flavors are subtle and mellow, they coordinate and complement each other nicely. These muffins are nicely moist, with a large open crumb. While hefty and substantial, they are surprisingly fluffy, though they lack a certain softness and delicacy I prefer in my quick breads. My only modifications to the recipe were to add a teaspoon of vanilla and a heaping cup of peaches to the batter- I think they could use even more fruit, as the peach to muffin ratio needs improvement. I also added sanding sugar to the tops, giving the muffins a certain sparkle and sweet crunch to every bite. Though this will not replace my favorite muffin recipe, it is a solid addition to my baking repertoire because of its adaptability.

Fresh Peach Muffins 7

I have to send out a double thank you to JoVonn of The Givens Chronicles– first, for this week’s SMS pick- please visit her lovely site to find the recipe, and check out the multitudes of muffins whipped up by the other bakers on our blogroll! Second, I’m so excited to have JoVonn join me for this round of Operation Baking GALS as a member of Team Oven Loving for the Recovering. It is so kind of her to dedicate time and energy as a volunteer baker, and I know the soldiers will truly appreciate her contribution. If you’re interested in getting involved, there’s still time to sign up- please don’t hesitate to get in touch for more information! 🙂

Joy Heart 2

SMS: Mom’s Banana Apple Bread

Mom's Banana Apple Bread

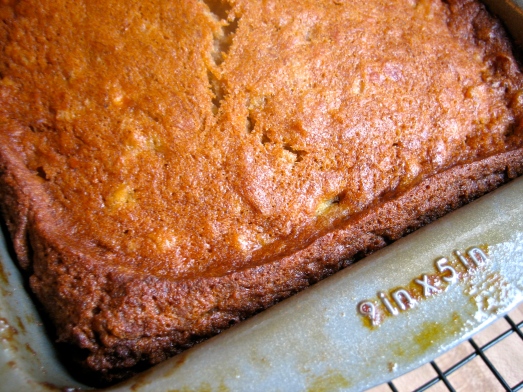
In the dedication of The Sweet Melissa Baking Book, Melissa Murphy candidly writes, “To my mom, who has been with me to hold my hand every step of the way.” With a phenomenal mom, who has dedicated her life to nurturing, loving, and supporting her daughters, I am blessed to say that I share Melissa’s sentiment wholeheartedly. As my best friend, guardian angel, constant companion, and number one fan, she is so much more than just my mom. An exceptional role model for leading a beautiful life, her generosity and deeply compassionate spirit shine through in everything she does, especially taking care of me. When I’ve faced seemingly insurmountable obstacles, my mom has stood by my side and inspired me to keep pushing forward, even when I was ready to surrender. She can brighten my darkest days with her smile, and dedicates her boundless energy to always being there for me, no matter what. Her unconditional love and constant support give me strength, and because she believes in me, I know that I can achieve my dreams. My mom seizes every opportunity to show how much she cares, and in return, it is a true pleasure to present her with some of her favorite homemade treats from the kitchen. While she raves over just about everything I make, one of her all time favorites is this outstanding and unique banana bread. Delectably tender and exceedingly moist, this banana bread, studded with caramelized chunks of apple and delicately spiced with the perfect combination of cinnamon, nutmeg, and cloves, is an elevated adaptation of a classic and a bona fide showstopper. It is definitely deserving of its recipe title: Mom’s Banana Apple Bread.

IMG_7072

Banana bread is a sweet cake-like quick bread, whose main ingredient is mashed bananas. Utilizing a chemical leavener such as baking soda and/or powder, quick breads are so named because they are “quick” acting and begin rising the moment the wet ingredients are added to the dry. Quick breads were developed at the end of the 18th century in America after pearlash, a preceding leavening agent that produced carbon dioxide gas in dough to produce rise, was discovered and popularized. Evidently, banana bread first originated from 18th century housewives experimenting in the kitchen with the new ingredient. When baking soda and baking powder grew to be widely used in the 1930’s, banana bread became a standard feature in American cookbooks, and was first included in the 1933 edition of the Pillsbury’s Balanced Recipes cookbook. But it was the home baking revival of the 1960s, combined with the simplicity and ease of its recipe that resulted in the spread of banana bread’s fame. Multiple variations of the quick bread were developed at that time, featuring a variety of mix-ins including additional fruits and nuts.

IMG_7133

Banana bread recipes typically call for one of two possible mixing methods: the two-bowl or muffin method, and the creaming method. With the muffin method, all the dry and wet ingredients are stirred together separately, and then they are quickly and gingerly mixed together, leaving a slightly lumpy batter, sometimes with some streaks of flour remaining. This method results in a texture with larger and more irregular air holes throughout. Alternatively, the creaming method calls for creaming the fat with the sugar until light and fluffy, followed by the addition of the remaining ingredients, which gives a different, cake-like texture. Mom’s Apple Banana Bread utilizes the latter method, and certainly has a characteristically delicate, tight crumb.

IMG_7121

Baking a loaf and enjoying a slice of this bread is the perfect way to celebrate National Banana Lover’s Day, which just happens to be this week, on August 27th! The banana doesn’t get much attention or respect as a fruit, but as a baker, I appreciate many of its qualities. Available year round, reasonably priced, easy to peel, and generally of consistent quality, the banana is a highly underrated ingredient. Most importantly, the color of its skin and the firmness of the flesh reveal its inner sweetness- an attribute not shared by many other fruits. Did you know that bananas are picked green when they’re hard and relatively flavorless? As time passes, the peel transforms from bright yellow to spotted brown, to nearly completely brown, and the flesh continues to become softer and sweeter. So don’t throw away those overripe bananas- they are ideal and arguably essential for delicious banana bread!

IMG_7056

Not in the mood to whip up a loaf right now? No problem. Just slip them into a plastic bag and place them into the freezer for later use. You can also peel and mash them, (optionally stir in 1 teaspoon lemon juice for each banana to prevent them from turning color), and freeze in an airtight container or bag. Your ripe-and-ready-to-go bananas will keep about six months in the freezer. Have the opposite problem- a craving for banana bread but green bananas on your counter? Check out this website recommended by my dear friend Hanaâ of the fabulous blog, Hanaâ’s Kitchen, which details a number of ways to hasten the ripening process.

IMG_7341

It is my pleasure, as host, to present this week’s Sweet Melissa Sundays’ recipe, and I hope it becomes a family favorite for you as well! Thank you to all the amazing “SMS bakettes” who baked along with me- please check out our blogroll to explore all of their incredible sites and find out what they did with the recipe. The kind words and support they offer each week means the world to me, especially as a newbie blogger, and I’m so lucky to be a part of such an outstanding group! But most importantly, thanks to my mom, for never letting go of my hand.

Mom’s Banana Apple Bread– makes one 1 1/2-quart loaf pan
from The Sweet Melissa Baking Book by Melissa Murphy

For the apples:
2 tablespoons unsalted butter
3 tablespoons firmly packed dark brown sugar
2 Granny Smith apples, peeled, cored, and cut into 1/2-inch pieces
½ teaspoon ground cinnamon
½ teaspoon pure vanilla extract

For the banana bread:
2 cups all-purpose flour
1 teaspoon baking soda
½ teaspoon ground cinnamon
¼ teaspoon ground cloves
¼ teaspoon freshly ground nutmeg
½ teaspoon kosher salt
8 tablespoons (1 stick) unsalted butter
1 cup granulated sugar
2 large eggs
¼ cup fresh orange juice
1 teaspoon pure vanilla extract
1 ¼ cups very ripe mashed bananas (2 to 3)

Before you start:
Position a rack in the center of your oven and preheat the oven to 350°F. Lightly butter and flour a 1 1/2-quart loaf pan.

To make the apples:
Preheat a medium skillet over medium-high heat. Add the butter and brown sugar and heat until bubbling. Add the apples and cinnamon and sauté until golden and tender, about 5 minutes. Stir in the vanilla. Remove from the heat and set aside to cool.

To make the banana bread:
1. In a medium bowl, whisk together the flour, baking soda, cinnamon, cloves, nutmeg, and salt.
2. In the bowl of an electric mixer fitted with the paddle attachment, cream the butter and sugar until light and fluffy, 1 to 2 minutes. Add the eggs, one at a time, mixing well after each addition. Scrape down the sides of the bowl.
3. In a small bowl, combine the orange juice and vanilla.
4. Add the flour mixture to the butter mixture in three batches, alternating with the orange juice mixture, mixing well after each addition. Scrape down the sides of the bowl after each flour addition. Stir in the mashed bananas until combined. Then stir in the reserved apples.
5. Pour the batter into the prepared loaf pan. Bake for 55 to 60 minutes, or until a wooden skewer inserted into the center comes out clean. Remove to a wire rack to cool for 20 minutes before unmolding onto the rack to cool further.

Serve slightly warm or at room temperature. The banana bread keeps well wrapped in plastic wrap at room temperature for up to 3 days. For longer storage, freeze well wrapped in plastic wrap and then aluminum foil for up to 3 weeks. Defrost (still wrapped) at room temperature.

Pro Tip: If your bananas are black before you are ready to bake, peel them, puree them, and store them in an airtight plastic container in your freezer. You can add more to the container whenever you like; the bananas keep a very long time. When you are ready to bake, just defrost them and get on with it.

Pretty Slick: If after a few days, the banana bread starts to get dry, toast a slice and spread some soft butter on top. It’s great this way with your morning coffee or afternoon tea.

Joy’s Tips:
*For the apples: Instead of chopping both, I chop one (in very small chunks) and shred the other on a box grater. The chopped apple still gives you the interesting texture and bites of tender caramelized appley goodness, while the shredded apple sort of melts into the bread and adds to its incredible moisture. I still saute both in the butter and brown sugar, and add any accumulated juices from the shredded apple. Beware of stirring in apple chunks that are too large- their weight causes them to sink to the bottom of the batter, and you end up with an apple layer of sorts at the base of the loaf. Still delicious, but not ideal- to have it well distributed, make sure your apple chunks stay pretty dainty!

*For the bananas: I recommend using the measured amount rather than just 2 or 3. I always seem to need more bananas to make the required measurement than are recommended (and I don’t think my bananas are particularly small). You definitely don’t want to skimp on this central ingredient for the overall flavor of your finished loaf!

*My loaf usually requires an additional 3-5 minutes for a toothpick to come out clean. I test at the 1 hour mark, and if it’s not done, I cover with foil to prevent over-browning and return it to the oven. Just be aware that your time may vary depending on your oven.

I hope you enjoy!

IMG_7371

Joy Heart 2

SMS: Hazelnut Truffles

Hazelnut Truffles

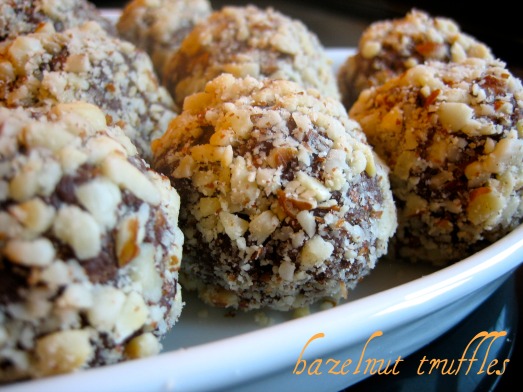
My first introduction to the world of gourmet candy was the classic Lindt milk-chocolate truffle and it was love at first bite. I pulled both ends of the glossy red wrapping to reveal a humble chocolate sphere, unadorned, unexceptional, and vaguely reminiscent of the ubiquitous Hershey’s kiss. But with one taste, I realized that this sophisticated treat was in a class of its own. When the hard outer shell (also known as couverture) gave way to a silky smooth, melt-in-your-mouth, luscious center- I was pleasantly surprised to discover a novel chocolate eating experience. This heavenly confection remains one of my all time favorite sweets, but with a lack of homemade candy making knowledge and familiarity, I’ve never attempted to produce a batch of my own. So I was very pleased to discover that Annie of Living Life Foodcariously selected Hazelnut Truffles for this week’s Sweet Melissa Sundays recipe. Transforming from baker to chocolatier for a day was a delightful change of pace, and I was amazed by the ease and simplicity of the candy making process.

IMG_6868

A French creation, the original chocolate truffle was merely a ball of ganache, made of chocolate and cream, and often flavored and rolled in cocoa. According to legend, it was invented in the kitchen of French culinary legend Auguste Escoffier during the 1920s. One day, his stagiaire, or apprentice, attempted to make pastry cream, but he accidentally poured hot cream into a bowl of chocolate chunks rather than the intended bowl of sugared egg. As the chocolate and cream mixture emulsified and hardened, he found he could work the chocolate paste with his hands to form a bumpy, lopsided ball. After rolling the new creation in cocoa powder, he was struck by its resemblance to the luxurious mushroom truffles found in the forests of the Périgord region of France and the Piedmont area of Italy. This resemblance gave the chocolate truffle its name. Because the actual truffle was very expensive and eaten only by the royals and extremely wealthy, the shared name gave the new chocolate creation elevated status.

IMG_6878

Today, French chocolate truffles epitomize the finest and most luxurious candies in the world. What’s more, truffles are taken so seriously in France that an annual contest is held to judge the best from each individual region of the country. In many French chocolate production factories, the finest and freshest ingredients are reserved exclusively for making truffles. By making my own truffles, I can understand the importance of quality ingredients- especially when there are only four components to speak of.

IMG_6828

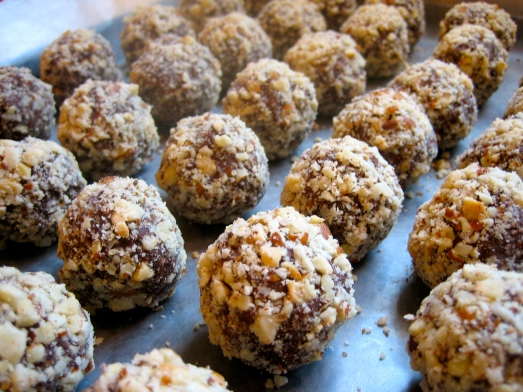
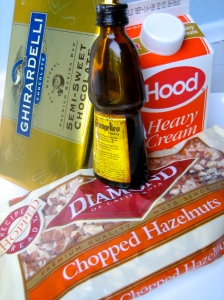
Chocolate. Cream. Liquor. Nuts. That’s it! And if you can chop up the chocolate, heat up the cream, combine the two, and then stir in the liquor and nuts, you can make delicious truffles too! All you need now is a little patience- 2 hours for the mixture to firm up in the fridge- but then you’re all set and ready to roll. Literally. Form that decadent ganache into balls and roll around to coat in whatever you fancy (hazelnuts were called for in this recipe, but any other nut could easily be substituted, not to mention the traditional cocoa powder, less conventional coconut, or even trendy spices) and you’re ready to open up your very own chocolate shop. Generally, the ganache used for truffle filling is made with a 2:1 ratio, two parts chocolate to one part cream, but by switching up the liquor or extract, and outer coating, the same basic recipe can be adapted to produce countless flavors and variations.

IMG_6957

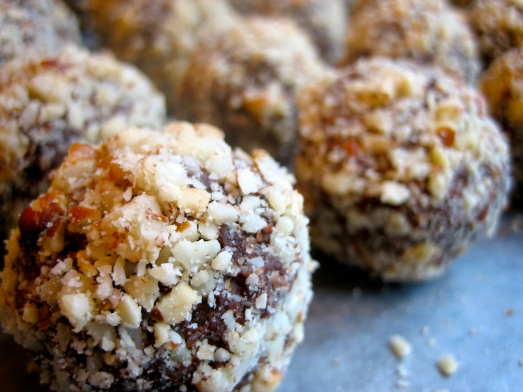
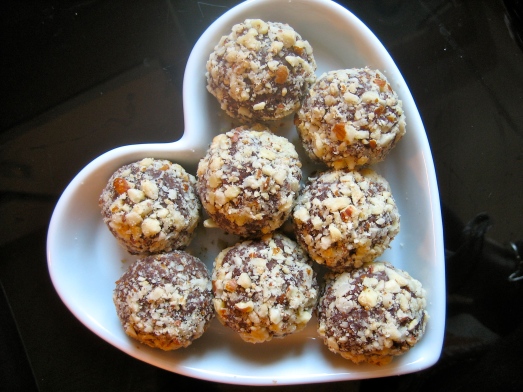
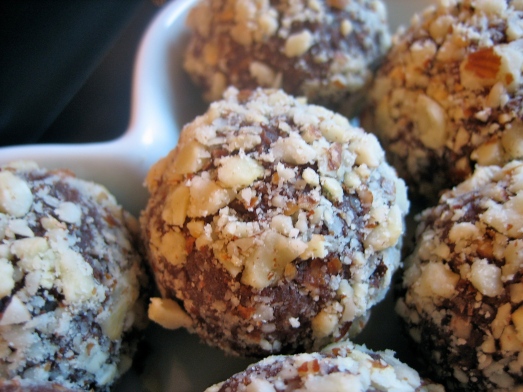
The hazelnut truffles from The Sweet Melissa Baking Book exemplify the ultimate chocolate sweet. The textural contrast of the rich, creamy, almost velvety core and the crunchy bite of the toasty hazelnut exterior allow these truffles to dance on the tongue. They are luscious little nibbles that are sure to impress your family and friends… that is, if you decide to share! And bonus! If something happens to go awry in the kitchen, just remember, it may be the next remarkable culinary discovery of the century 🙂

IMG_7010

Head on over to Living Life Foodcariously for the recipe, and see what all the other SMSers did with their truffles by exploring the blogroll. Thanks Annie– what a great pick!

Joy Heart 2

SMS: Snickerdoodles and Operation Baking GALS

Snickerdoodles

A batch of snickerdoodles brought to a staff meeting began my illustrious career as the workplace baker at the YMCA Childcare center. One taste of the sweet, spicy golden cookies, and the other teachers were hooked- they were impressed by my apparent flair for baking, and from that day on, I was the go-to girl for birthday cakes and all other special occasion treats. I was more than happy to undertake that role, but I always found it funny that what convinced them of my talent was one of the simplest goodies ever to emerge from my kitchen.

IMG_5415

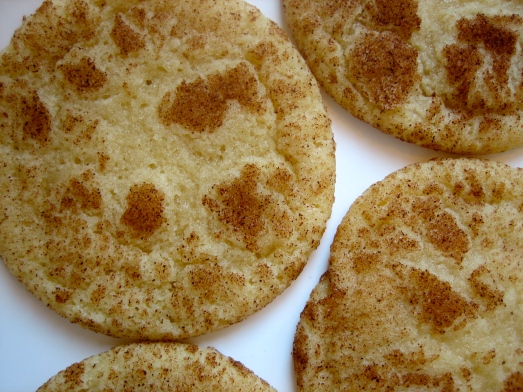
A sugar cookie dressed up with a dusting of cinnamon, the snickerdoodle is composed of mere pantry ingredients: butter, sugar, eggs, and flour, and has a much fancier name than makeup. Older recipes for this classic utilize a combination of cream of tartar and baking soda as a leavening agent, which give the resulting cookie its characteristic tang, whereas more current recipes call for baking powder instead. I’ve made them both ways, and in my opinion, you can’t go wrong. Snickerdoodles are deliciously addictive and it’s hard to eat just one!

IMG_5440

Though the etymology is debatable, the name “snickerdoodle” has been traced back to the German word “schneckennudeln.” “Schnecke” means “snail” in German, and according to “Slumps, Grunts and Snickerdoodles: What Colonial American Ate and Why” by Lila Perl, a “shnecke” was also a German name for a cinnamon pinwheel that resembles snails. The development of the name probably reflects the cookie’s history, which dates back to Nineteenth century New England, when cookies were given odd and whimsical names like Graham Jakes, Jolly Boys, Tangle Breeches, and Kinkawoodles. No matter how they were dubbed with such a quirky moniker, most would agree that “snickerdoodles” is as fun to say as they are to eat.

IMG_5420

In a stroke of serendipity, Spike of Spike Bakes selected snickerdoodles as this week’s pick for SMS. I had consulted The Sweet Melissa Baking Book for that very recipe recently when I was assembling my package for Operation Baking GALS. You may have noticed the special icon on the right column of my site that designates my participation in this amazing charitable organization. Operation Baking GALS is a group of volunteer bakers from all across the country who come together each month to collectively send homemade goodies to troops currently deployed overseas in Iraq and Afghanistan. It’s a fantastic way to show our support and give these brave men and women a little piece of home.

After my first three rounds of baking, I was inspired to take on a leadership role by organizing a bonus team with a unique mission. Team Oven Loving for the Recovering was born to serve the courageous soldiers who are recuperating from injury at the Army Medical Center in Bethesda, MD. My heart ached for the pain (both physical and emotional) they face every day, but I knew that the wonderful Baking GALS volunteers could help lift their spirits by sending along their thoughtful and delicious care packages. By working with Command Master Chief Wendy Fischer and head Baking GAL Lyndsay Leybold, we developed a plan and a partnership, and I have been proud to lead this extraordinary team for the last 4 rounds of baking. Our packages are incorporated into a special Friday night program, where the soldiers and their families come together to share a delicious home-style meal, ending with cookies and treats galore. I recently received a letter from the Command Master Chief expressing their deep appreciation for our generous contribution, but in truth, it has been my honor and privilege to bake for these admirable soldiers and their families. Operation Baking GALS and Team Oven Loving for the Recovering hold a permanent place in my heart, and I am looking forward to continuing my work with this exceptional organization. If you’re interested in more information or getting involved, please feel free to get in touch with me either right here in the comments section of my blog or via email at joy.d.saunders@gmail.com. And for a little inspiration, here’s a look at the 20+ dozen cookies I’ve sent so far! 🙂

Baking GALS collage 1Baking GALS collage 2Baking GALS collage 3Baking GALS collage 4Baking GALS collage 5 revised

Thanks again, Spike, for selecting the delectable snickerdoodles– I’m sure they were a hit with the soldiers! Head on over to Spike Bakes for the recipe if you’d like to give them a try!

Joy Heart 2

SMS: Chewy Peanut Butter Cookies

Chewy Peanut Butter Cookies

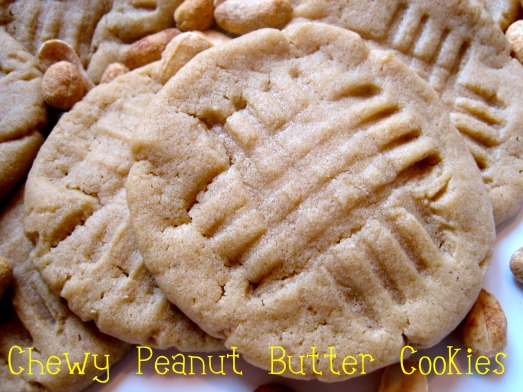
I’ve always had a penchant for peanut butter, especially when featured as a foil ingredient in one of many perfect pairings: peanut butter and jelly, peanut butter and banana, and of course, the ultimate combination, peanut butter and chocolate. The first candies consumed from my Halloween loot were usually Reese’s peanut butter cups, and as a Brownie, Thin Mints and Samoas didn’t hold a candle to my favorite girl scout classic, Tagalongs, or peanut butter patties. Despite my preference for peanut butter, I must admit it is an under-utilized item in my kitchen. But with this week’s SMS pick, Chewy Peanut Butter Cookies, I got to grab my jumbo jar of creamy Skippy and mix up a simple yet scrumptious batch of goodies, filling my home with a warm, nutty, comforting aroma that transporting me back to my childhood.

PB Cookies 1

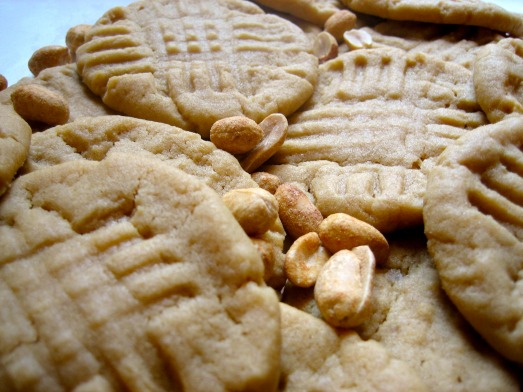
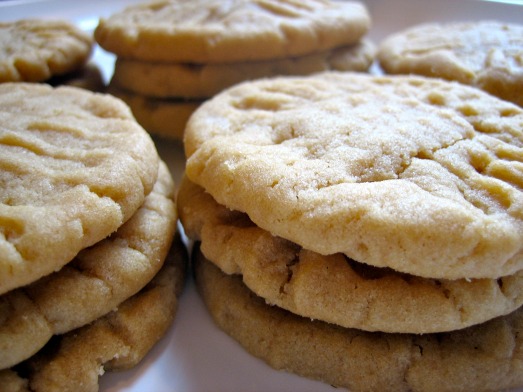
In these timeless treats, the peanut butter is front and center without any other flavors competing for attention. Charming and unpretentious, they are easy to whip up on a whim, with all the ingredients likely to be in your pantry. A few months ago when my Aunt Maggie and I got together for a baking date, we fell back on PB cookies after eliminating some flashier desserts that required items we didn’t have on hand. We actually used a similar recipe to the variation in the Sweet Melissa Baking Book, and though the differences were subtle, I think I preferred this latest version. Stephanie of Ice Cream Before Dinner mentioned she selected this SMS recipe because it produced a simple and not so fancy cookie that would ultimately be an enjoyable crowd-pleaser. With soft, tender centers, crispy edges, a delicate texture, and predominant peanutty flavor, they definitely live up to their name and expectations.

PB Cookies 2

Peanut butter cookies are actually a part of American culinary history. George Washington Carver, an African-American agriculturalist who promoted the peanut as a replacement for the cotton crop, compiled 105 peanut recipes from various cookbooks, agricultural bulletins and other sources. In his 1916 Research Bulletin called “How to Grow the Peanut and 105 Ways of Preparing it for Human Consumption,” he included three recipes for peanut cookies calling for crushed/chopped peanuts as an ingredient. Later, in the early 1920s, peanut butter was listed as a primary ingredient in the cookies.

PB Cookies 3

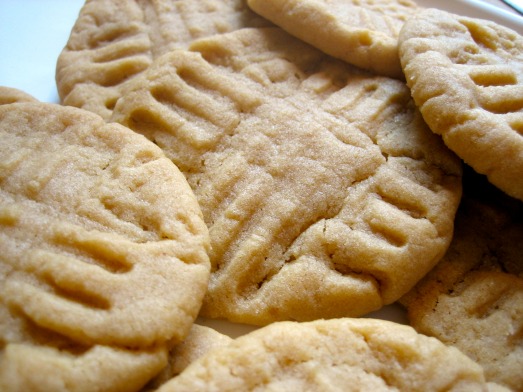
And did you ever wonder the origin of the traditional criss-cross pattern? Leave it to Pillsbury to establish this characteristic look- the Peanut Butter Balls recipe in the 1923 edition of Pillsbury’s Balanced Recipes contains the first known written instance of instructing the baker to press the cookies with the tines of a fork. Because of the dough’s density, it will not cook evenly without being pressed, and a fork is definitely a convenient tool in every kitchen to complete this job. The cross-hatched marking immediately identifies the peanut butter cookie, distinguishing it from any other variety, and adding to its delightfully rustic appearance.

IMG_6635

These cookies were fun and fast to bake, and would be a great project to do with kids. Since this recipe edges out others I’ve made in the past, I think it will be a permanent addition to my cookie-baking repertoire. Thank you to Stephanie of Ice Cream Before Dinner for her delicious down-home selection, and if you feel like filling your cookie jar with a batch of your own, head on over to her adorable site for the recipe. And you can see all the other SMS baker’s treats by checking out our blogroll, now featuring a few new members (myself included)!

Joy Heart 2