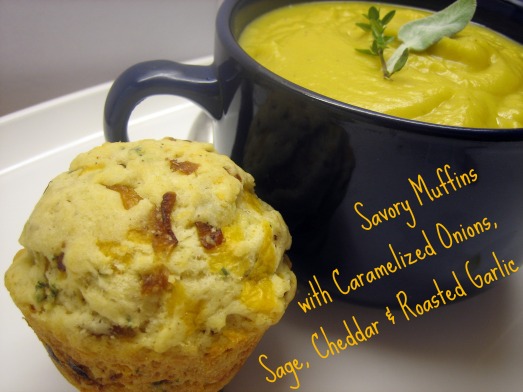
SMS: Caramelized Onion, Sage, Cheddar & Roasted Garlic Muffins

Savory Muffins with Caramelized Onions, Sage, Cheddar & Roasted Garlic

I had no idea when I began “Hot Oven, Warm Heart,” that I would be welcomed with open arms into the baking and blogging community. I have been blessed with the opportunity to meet some truly amazing people, who have blown me away with their kind hearts, passionate souls, and generous spirits. I am so thankful that I have made some dear friends through this process, and I’m looking forward to nurturing these new relationships with each upcoming week and tasty recipe. Who knew a shared fervor for creating muffins, cookies, and cakes had the power to bring people together? Though I was planning on opting out of SMS this week because of some current craziness, I changed my mind immediately when I realized that this week’s host was the absolutely extraordinary Hanaâ – one of the most thoughtful, caring, and talented people I’ve had the pleasure of getting to know over these last few months. No matter how busy my schedule, I knew I had to make time to try her bold and daring recipe selection, Caramelized Onion, Sage, and Cheddar Muffins. This marked the first savory baked good chosen for the group, and provided the chance to attempt something novel and exciting in the kitchen- a challenge I’m always eager to embrace. And boy, am I glad I did. The muffins provided the inspiration for a special fall meal, complete with Roasted Acorn and Butternut Squash Soup, and evoked overwhelming accolades from my family of tasters. But with Hanaâ’s stamp of approval on the recipe, I’d expect nothing less.
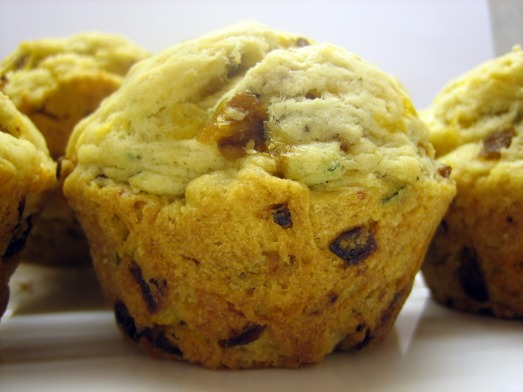
Savory Muffins 1

Whether savory or sweet, ‘American-style’ muffins (those made from a batter with a chemical leavener- baking powder or baking soda- rather than a yeast dough like with English muffins) can be divided into two main categories: bread-like and cake-like. The distinguishing factors lie in the technique for mixing the batter as well as the sugar and fat content of the muffins. The bread-like variety typically utilize the “muffin method” of mixing, where the dry and wet ingredients are first blended separately, and then combined and stirred together just until incorporated. In addition, these muffins tend to have less sugar and fat (either melted butter or oil) in the recipe than their cake-like counterparts. The key to producing tender muffins made with this technique is to avoid over mixing. Mixing too much overdevelops the gluten in the flour, resulting in a tough muffin with tunnels and a compact texture. Resist the urge to continue stirring the batter, even if it’s still lumpy- only 10 to 15 strokes are necessary to moisten the dry ingredients, and it’s perfectly acceptable to have a few traces of flour remaining. The lumps in the batter will continue to blend as the muffins bake, and they will disappear after a short trip through the oven. Handling the batter as little as possible (even when scooping and distributing it in the pan), will yield muffins with ideal texture and a soft crumb. I kept this trick in mind while assembling my SMS savory muffins, and was very pleased with the overall consistency of the soft and springy interior.
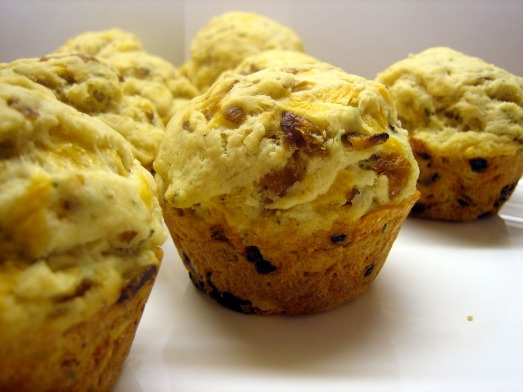
Savory Muffins 2

And now to the mix-ins. The harmoniously flavorful, out-of-this-world delicious combination of mix-ins. Honestly, Hanaâ had me at “caramelized.” I don’t think there is any cooking method that more perfectly extracts the essence and inner sweetness of an ingredient than caramelization. Technically speaking, caramelization refers to the oxidation of sugar, and is a complex chemical process that is utilized in cooking to produce the characteristic nutty flavor and brown color of caramel. But practically speaking, it is the gateway to scrumptiousness! Whether it’s caramelized apples in my favorite banana bread or caramelized onions in these exceptional savory muffins, the star ingredient shines center stage after being transformed with some butter and a hot sauté pan. Because the Sweet Melissa Baking Book did not offer instructions on how to prepare the onions, I decided to follow the basic procedure I’ve used in past recipes. I sliced a mountain of Vidalia onions into thin half moons, preheated a large skillet on medium-low heat, and added two tablespoons of melted butter with just a bit of olive oil. After piling up the onions in the pan, I seasoned them with a generous pinch of salt and a little sugar. I prefer to go “low and slow” when caramelizing onions- with a little patience, the onions soften and gradually take on a deep golden brown color. It does take about an hour, but believe me, it is worth every minute.
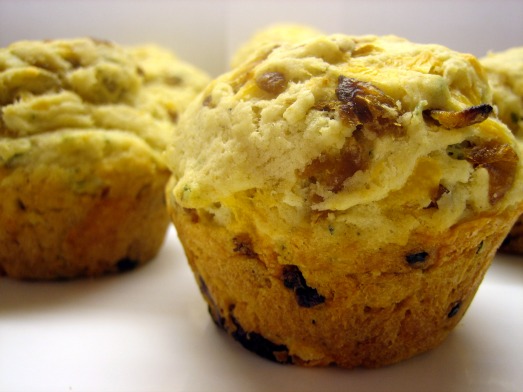
Savory Muffins 3

I assembled the remaining ingredients in between occasional stirring, and by the time the onions were completed and cooled, I was all prepped and ready to go. The sage, fresh from my summer herb garden, was chopped, the sharp cheddar was shredded, and my extra special touch ingredient, roasted garlic, was minced to a paste, and whisked into the wet ingredients. (While the onions were cooking, I sliced the top off a head of garlic, drizzled on some olive oil, placed it in a foil packet and roasted it in a 400°F oven for an hour, until the cloves were slightly browned and softened). The idea for this bonus ingredient also came from the brilliant Hanaâ– the girl knows her flavors and it sounded too good to leave out! Since roasting really mellows the bite of fresh garlic, I ended up using about 4-6 cloves, and it complimented the other mix-ins flawlessly. No one flavor outshined another, and while you could certainly distinguish each individual ingredient, they all came together beautifully to produce a knock-your-socks off, one-of-a-kind batch of muffins. The only other change I made with the recipe was to check and toothpick test the muffins a few minutes earlier than the designated bake time. Mine were done at 27 minutes, so take care to keep an eye out towards the end of baking- the last thing you want after all that hard work is dry, heavy muffins because of over baking.
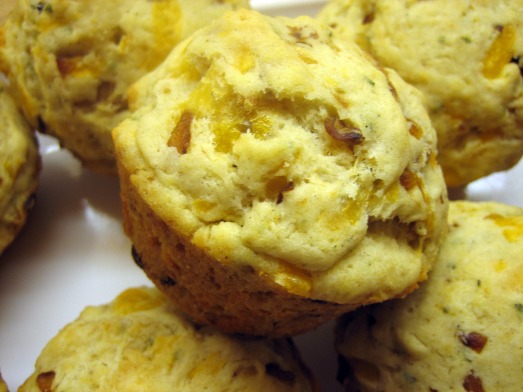
Savory Muffins 4

After brainstorming some ideas to design a dinner menu featuring the savory muffins, I settled on making a Roasted Acorn and Butternut Squash soup. It was reminiscent of my very favorite fall recipe, a Butternut Squash and Caramelized Onion Galette (I’ll definitely be making this in the upcoming weeks, and will be sure to share it with you!) I discovered the soup recipe on one of the best cooking blogs on the web, Smitten Kitchen, and subsequently found it on Epicurious. I made a few slight adaptations, including roasting the squash before adding it to the soup. Instead of struggling with a rock hard unpeeled acorn squash and a sharp knife, I simplified the process by cutting it in half (or should I say, calling on my dad’s brute strength to divide it in two), drizzled it with some olive oil and seasoned with salt and pepper. Though I was lucky to find my butternut squash already peeled, I figured I might as well roast that too at the same time. After about 45 minutes in a 400°F oven (tossing halfway through) the butternut squash was tender and slightly browned around the edges. The acorn squash needed a few minutes more, so I turned it over cut side down, and let it go a while longer. By the time it emerged from the oven, I was able to remove the peel and chop it into cubes very easily. I also used the remaining half head of roasted garlic left over from the muffins to replace the raw chopped garlic called for in the recipe. But no matter how you play with the recipe, it is a FABULOUS fall soup, and was a match made in heaven with the savory muffins.
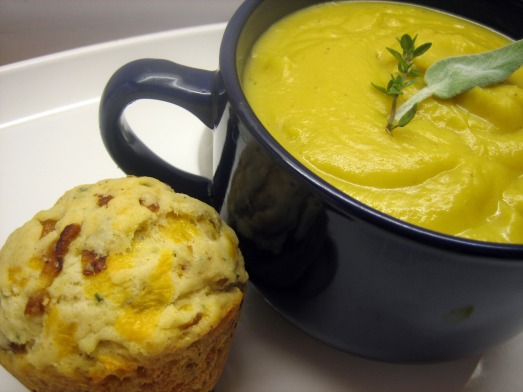
Savory Muffins 5

In the end, I couldn’t have been more pleased with the results, and this dreamy fall dinner was the perfect panacea for a blustery, windy, rainy Sunday night here in Boston. My parents raved over both components, remarking that the meal was restaurant worthy and one of my best ever. While I appreciate the positive feedback, the real compliment belongs to Hanaâ– I probably never would have attempted this recipe without a little push… I guess it’s just one more thing I have to thank her for. She is a constant source of inspiration and creative ideas- even dressing up her muffins with the crumb topping from her tuna casserole- super clever, right? This week I implore you- take a minute and check out her fantastic site, Hanaâ’s Kitchen, get your hands on this must-try recipe, break out the mixing bowls, and bake a batch of your own! You won’t be disappointed!
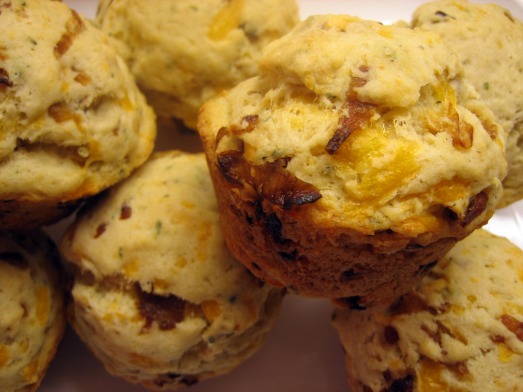
Savory Muffins 6

Thank you Hanaâ, for doing a great job as SMS host this week. You are an incredible baker, but more importantly, an even better friend. I appreciate your support and encouragement more than you’ll ever know.

Joy Heart 2

SMS: Orange Scented Scones *with Grand Marnier Honey Butter Glaze*

Orange Scented Scones

My second favorite way to relax and unwind (after baking, of course) is curling up in a cozy spot, wrapped in a fluffy blanket, sipping on a piping hot mug of French vanilla tea. When the kettle whistle blows, the tension in my body immediately begins to ease, as I eagerly await the curative brew with which I start and end each day. While I don’t have an ounce of British heritage, I swear I belong in the UK, where “tea breaks” are practically a national pastime. There is something magically restorative about enjoying a good cup of tea, and I highly recommend incorporating the soothing beverage in your repertoire, especially as an accompaniment to any indulgent sweet treat starring as your breakfast, snack, or dessert. There is no culinary couple that can quell an anytime craving quite like tea and scones- the ultimate European gastronomic duo. Like peanut butter and jelly or milk and cookies, tea and scones simply belong together, flawlessly complimenting each other’s best attributes. Both tea and scones have quite a bit of ground to cover to surpass coffee and muffins in regard here in the US, but thanks to recipes like this week’s SMS selection, tasters are being converted with just one bite.

IMG_8023

A small quickbread (or cake if the recipe includes sugar) of possible Scottish origin, the scone is a popular treat in many countries around the world, but especially in the UK, Australia, New Zealand, Ireland, Canada and of course, the US. They are usually made of wheat, barley or oatmeal, with baking powder acting as the leavening agent. The name is said to derive from the Middle Dutch schoonbrood, schoon meaning “pure and clean” and brood meaning bread. The original scone was a round and flat cake (now commonly referred to as a bannock), that was usually the size of a small plate, made with unleavened oats, and baked on a griddle. It was then cut into triangle-like quadrants, or scones, for serving. The scone evolved into the oven-baked, well-leavened pastry we know today when baking powder was introduced to the market and became widely available to the masses. While the British scone is often lightly sweetened, it can also be savory, and popular mix-ins include raisins, currants, cheese or dates. In contrast, scones in the US are typically drier, larger and sweeter, and are standard coffee shop fare, featuring fillings such as cranberries, blueberries, nuts, or even chocolate chips.

IMG_7978

There are a few keys to producing an excellent scone, and ways to avoid the dreaded “hockey puck” consistency that gives scones a bad name. Both temperature of ingredients and mixing method are crucial components to consider. It is best if all the ingredients are cold, to add the liquid to the dry ingredients all at once, and then to mix everything together quickly and lightly. Because the butter is “cut-in” to the dry ingredients (just like in making pie dough), it is crucial that it’s cold, so it becomes small, flour-coated crumbs rather than melting and forming a smooth mass- this step is what ultimately gives scones their characteristic delicate, flakey texture. After the liquids are added, it is imperative to mix the ingredients as little as possible (only until everything comes together)- an overworked scone is usually hard and doughy, so a light hand is essential. When the dough is turned out and formed into a disc, it can either be cut into triangles, or rounds by using a cookie cutter. If you opt for the latter method, it is recommended to twist the cutter through the dough instead of pushing straight down, which yields higher rising scones during baking. Brushing the scones with an egg wash or some additional milk/cream imparts a gorgeous golden color and helps encourage browning. When they’re removed from the oven, you can either allow them to cool uncovered for a crusty exterior or wrap them (still hot) in a clean towel for a softer outer layer. Scones are best served warm and eaten the same day they’re made. Classic accompaniments include butter, jam or preserves, clotted cream, and/or lemon curd, however, a well-made scone is delicious even when plain. If you keep these tips in mind, scone baking is relatively easy, and you’re guaranteed to produce a winning treat.

IMG_8003

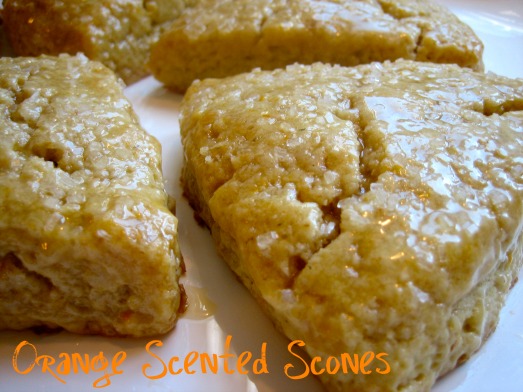
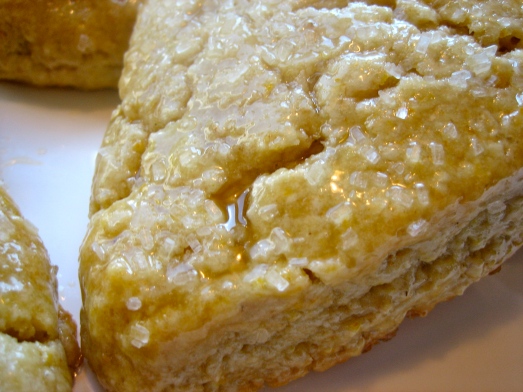
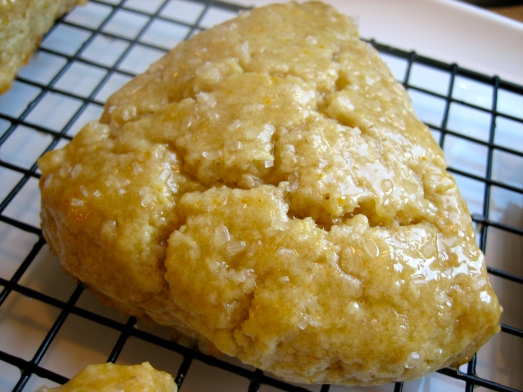
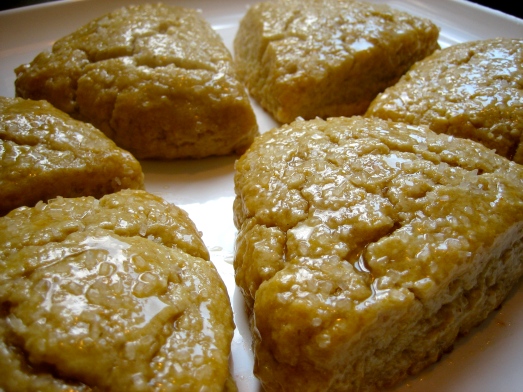
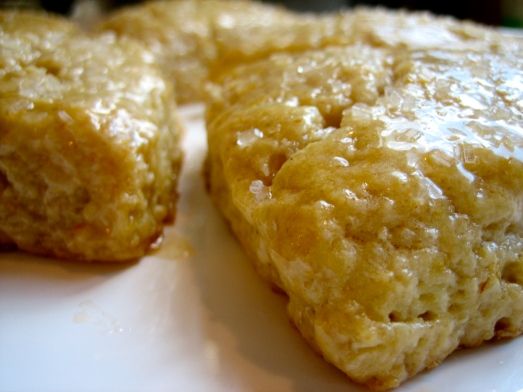
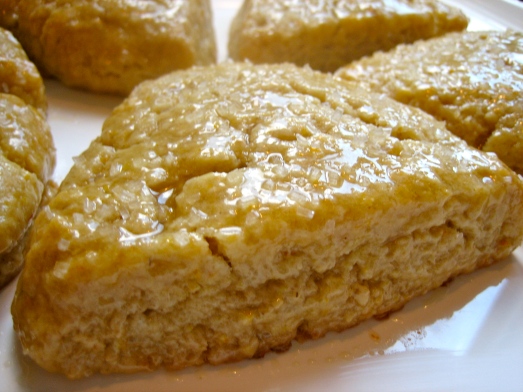
This is especially true when you have a sure-fire recipe to fall back on, like the Orange Scented Scones from The Sweet Melissa Baking Book. When I first read the recipe, chosen by Robin of Lady Craddock’s Bakery, it seemed like a very basic cream scone dressed up with a bit of grated orange zest. I wanted my scones to deliver a punch of orange flavor, so I pumped up the citrus volume in a few places. I added the zest of one whole orange (which was a bit more than the specified two teaspoons) and then turned to my pantry, which is stocked with a variety of flavored extracts, including orange. I mixed a teaspoon of orange extract into the wet ingredients for that extra hint of citrus essence all throughout the dough. But I didn’t stop there! I knew I wanted to accent my scones with some sort of glaze, and while my first thought was to go the confectioners sugar/orange juice route, I stopped short in my tracks when I discovered a honey butter scone glaze recipe featured in one of my favorite cookbooks, A Passion for Baking, by Marcy Goldman. In an “A-ha!-in-the-kitchen” moment, I thought, why not add a splash of that Grand Marnier (or orange liquor) I have leftover from the Fallen Chocolate Soufflé Cake? Perfect! With triple the orange zip, the scones were tangy, bright, and super refreshing. The sticky sweet glaze kept them ultra moist on days 2 and 3 (I can’t report on any longer since they didn’t last more than that!) I’m confident the classic scone recipe would be a great canvas for any flavor profile you’re craving, and by changing up the mix-ins with different fruits, spices, nuts, and zests, you never have to make the same scone twice! I highly recommend giving the glaze recipe a try as well (either spiked with your favorite liquor or booze free)- dry, chalky stones… I mean, scones, be gone!

IMG_8000

Thank you to Robin of Lady Craddock’s Bakery for this excellent tea-time pick! Head on over to her site for the recipe, and have fun playing with it and making it your own. Get some other great ideas by checking out all the delicious scones baked up by the other lovely ladies of SMS!

IMG_7996

Just in case you’d like to test my version, here’s the fabulous (and truly simple) glaze recipe I used:

Scone Glaze
from A Passion For Baking by Marcy Goldman

Ingredients:

1/3 cup honey
¼ cup or 4 tablespoons unsalted butter
1 tablespoon flavored liquor such as Grand Marnier (optional)
1-2 tablespoons sparkling or sanding sugar to coat

Directions:

While the scones are baking, heat honey and butter in a liquid measuring cup in the microwave until mixture is just simmering, about 1 minute, stirring halfway through. Let cool slightly, and then stir in the liquor if using.

Brush the scones lightly with honey-butter glaze as they come out of the oven. Let stand on baking sheets. Repeat with more honey-butter glaze, more generously, about 15 minutes later. Sprinkle with the sanding sugar and let set.

Joy Heart 2

SMS: Fallen Chocolate Soufflé Cake

Fallen Chocolate Soufflé Cake

I have a bit of a confession to make. I am a highly neurotic cook. My perfectionist tendencies follow me into the kitchen, and although my passion for baking brings me a sense of inner peace and tranquility, I can’t help but get worked up some times when I make a mistake or things don’t turn out right. The rational side of my brain tries to reason with me, “It’s okay, Joy, not everything you make can be a smashing success, and even though you’re disappointed now, try not to get discouraged! You’ve learned from the experience and will do better next time, that’s what’s important.” Note: this voice is often the repeating of my mom’s words of encouragement in my head. But usually, I’m too overcome with melancholy and consternation to listen. Bearing all this in mind, I never, never, imagined myself standing over a perfectly risen, evenly domed cake saying, “C’mon, fall. FALL! I want you to look like a pathetic deflated tire. Will you fall already?”

IMG_7686

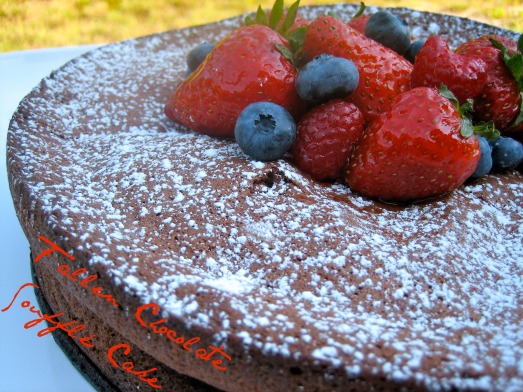
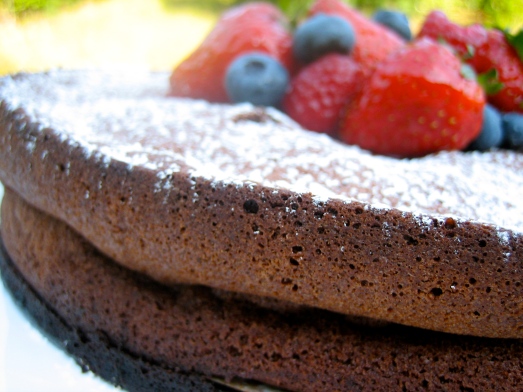
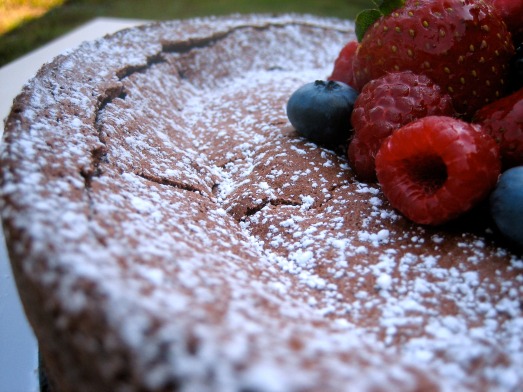
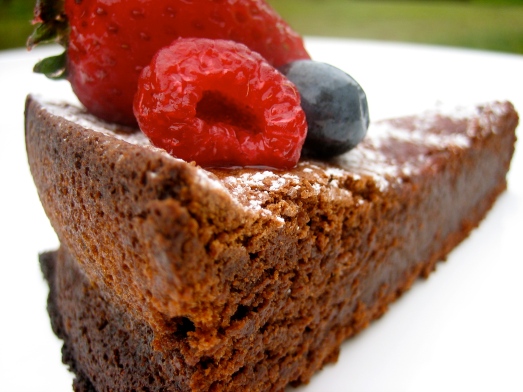
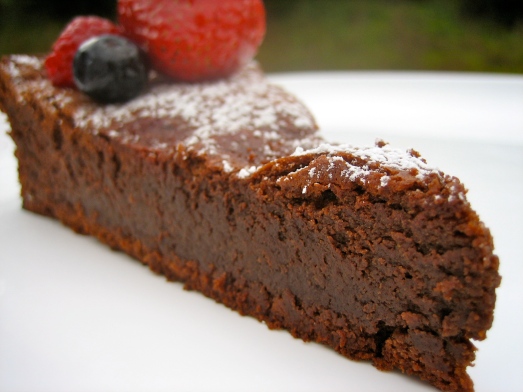
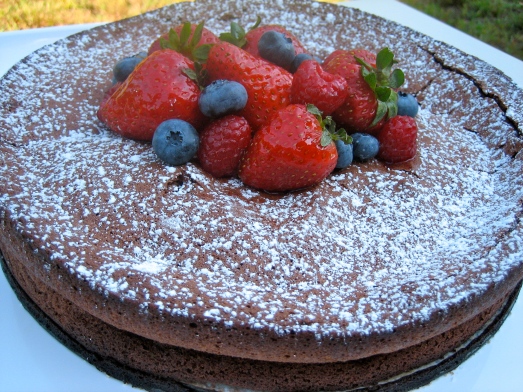
Yesterday morning, this curious kitchen occurrence came true as I stared at this week’s SMS selection, the cover recipe of The Sweet Melissa Baking Book, Fallen Chocolate Soufflé Cake. Thankfully, this time my cake listened to my pleading, and sunk ever so slightly in the middle, creating cracks and crevices along the surface. Un-molding the cake only enhanced its homely appearance, revealing un-even sides that looked sadly smushed together. While it wouldn’t be winning any beauty contests, it did resemble the book’s photograph, and I was hoping that the cake’s flavor far exceeded its appearance in impressiveness and overall appeal. But before I could serve and find out, I had to wait patiently for the cake to cool completely, giving me the perfect opportunity to discover how this cake came to be.

Fallen Chocolate Soufflé Cake 2

In the mid-1970s, famous restaurateur, Narsai David, set off an absolute sensation with his over-the-top dessert aptly titled the Chocolate Decadence Torte. Ever since, pastry chefs round the world have been crafting devastatingly rich chocolate desserts hoping to achieve ultimate chocolate nirvana on a plate. The intensely flavored French-style desserts unite the seemingly paradoxical qualities of a dense truffle and airy mousse. A palate and preference for these chocolate treats spread quickly throughout the American public, and variations like the ubiquitous flourless chocolate cake began popping up on high-end dessert menus everywhere.

IMG_7878

Another such adaptation is the fallen soufflé cake, a hybrid of sorts between a chocolate mousse/soufflé and a flourless cake. Fortunately for the baker, the nerve-wracking anxiety of soufflé baking is eliminated, as a fallen dessert is the desired result. While the batter is constructed and baked just like a soufflé, it is allowed to cool thoroughly, during which time it falls, compacting the texture. It’s best served slightly re-warmed, so the consistency remains more like a mousse than a dense fudge. Traditionally, fallen soufflé cakes are served accompanied by a custard, caramel sauce, ice cream, or sweetened whipped cream.

IMG_7882

I’m sad to say the Fallen Chocolate Soufflé Cake in The Sweet Melissa Baking Book didn’t quite live up to expectation. The reaction my tasters had at first bite can be described in one word: surprise. My dad remarked, “I taste something, but it’s not chocolate… it’s not orange, is it?” Apparently the single teaspoon of orange zest and splash of Grand Marnier was enough to overpower the central ingredient. Even with over 10 ounces of Ghirardelli, it just didn’t deliver that punch of chocolate flavor I was after. My mom chimed in commenting on the lack of sweetness, and asked if I had used all bittersweet chocolate. Nope. All semisweet here. Both had no problem polishing off their slices, and complimented the cake’s surprisingly light texture, but then came the kiss of death: “It’s just not my favorite,” my mom said gently. When my number one fan, who loves EVERYTHING I make, utters those five telling words, I know that there won’t be a second showing of the dessert in my home.

IMG_7703

I still have to thank Sarah of The Blue Ridge Baker for pushing me to try something I’ve never tackled before. I’m now inspired to find the fallen chocolate cake of my dreams, and don’t you worry, when I do, I’ll be sharing. Please still check out Sarah’s fantastic site, where you’ll find the recipe along with a bonus chocolate cake that she deemed “heavenly.” I’m certainly adding that one to my must-try list! And remember to check out how all the other lovely ladies’ cakes came out too!

Joy Heart 2